Make Plant-based Yogurt
And it is so because you’ll be exploring new territory and innovating!
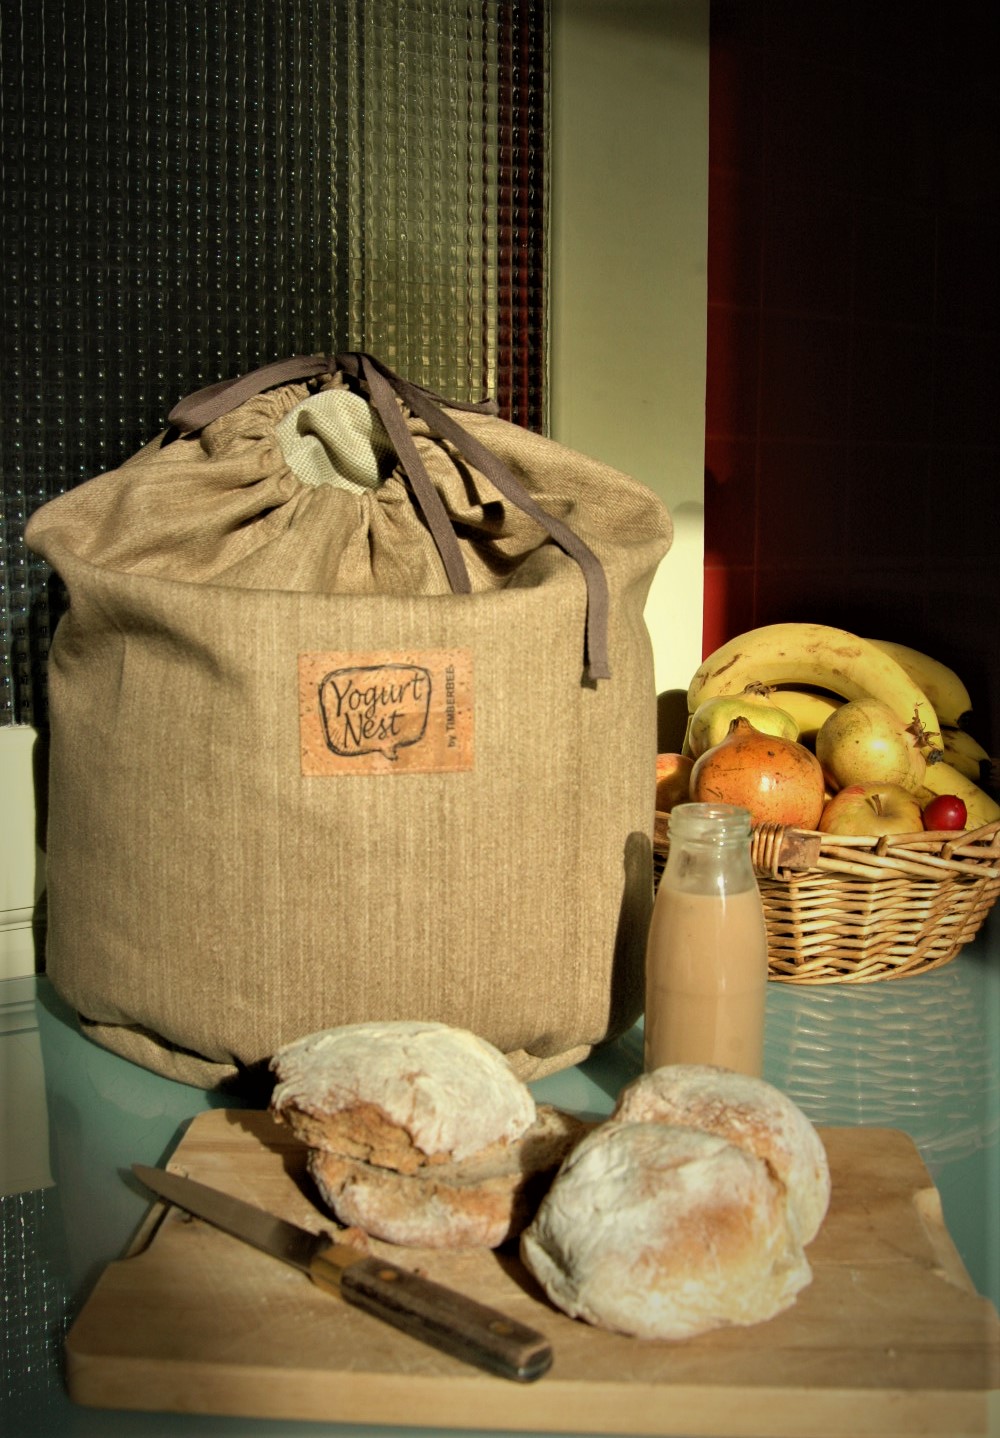
If making your own yogurt is an act of freedom, then making your vegetable yogurt takes that act of freedom to a higher level. Plant-based yogurts are expensive and the YogurtNest makes them cheap.
The YogurtNest gives you even more freedom, allowing you to make the amount of yogurt that suits your needs, use the containers you already have, use the plant-based milk of your choice (being it soy drink, rice, oats, coconut, spelt …) and the ingredients that you will add to it, to make it absolutely irresistible. Here, too, your only limit will be your own imagination.
You can actually make your own plant-based milk, at home, and use it to your make plant-based yogurt, which will allow you to further spare the Planet and your purse. You can even make plant-based milks that are not available in your store – lupin milk yogurt, anyone?
Here’s a challenge: why not making yogurt from your own chestnut drink?
Haven’t we told you that making yogurt was cool?
Before you begin, though, please read the following notes:
* To make soy yogurt, you may use the same process used for dairy yogurt. You may see how it’s done here.
** To make other vegetable yogurts, you may use a very small amount of dairy yogurt, as a starter, or, if you wish a purely vegetable yogurt, one tablespoon of soy yogurt. You may also use a commercial starter (probiotic), easily available in the market, in the form of sachets or capsules.
How to use the YogurtNest to make vegetable yogurt:
Step 1
Heat it

Step 2
Feed it

Step 3
Thicken it

Step 4
Sleep it
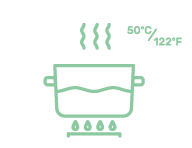
Step 1: Heat it
Heat the milk, using the stove, microwave, kitchen robot or, even, a camping stove, if you happen to be in the Himalayas.
Step 2: Thicken it
Time to add a thickening agent – this is the secret of plant-based yogurts! As with the yogurt industry, when using a commercial plant-based milk with a high percentage of water, we too must use a thickening agent, to give consistency to the future yogurt. You may choose from a variety of thickening agents easily found in the store: guar gum, xanthan gum, corn starch, kuzu root starch, carob seed flour, arrowroot flour, Psyllium husk, etc. We suggest guar gum (3 teaspoons/L) or corn starch (3 tablespoons/L). Stir the thickener, while heating the plant-based milk, to avoid lumps, until you obtain a light cream consistency. If using agar-agar, you have to boil it with the plant-based milk for 5 minutes and you will obtain a jelly yogurt, so it’s the less recommended.
Note: If you will be using a fairly thick plant-based milk, made with less water and without filtering it, you may skip this step.
Step 3: Feed it
Let it cool down to 50C and add one tablespoon of yogurt** or yogurt starter/L to your plant-based milk and mix it.
Step 4: Sleep it
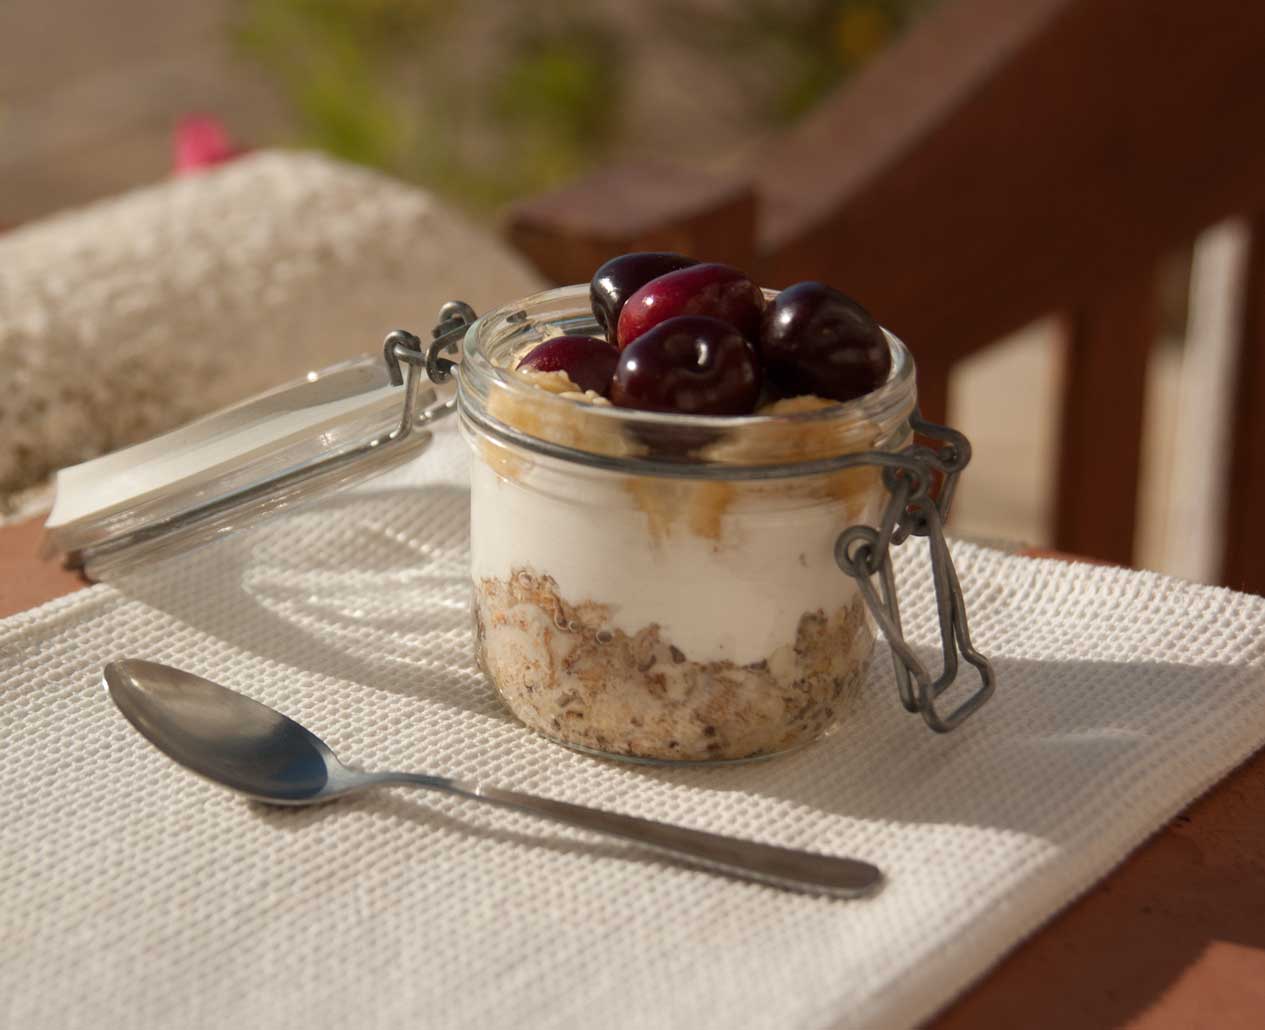
Seal the jars(s), tuck inside the YogurtNest and incubate for about 6 hours, after which your vegetable yogurt will be ready to be tasted. You may consume it immediately or store in the refrigerator, which will give the yogurt a bit more consistence.
P.S .: Don’t forget to take a look at our tips!