Tips
Make the most out of your YogurtNestHere are some tips to get the most out of your YogurtNest:
Tip #1 – You can use your own yogurt to make new yogurt!
After making your first yogurt, with the YogurtNest, you can use it as a starter for your next batch, and so on. You’ll never have to buy yogurt again!!
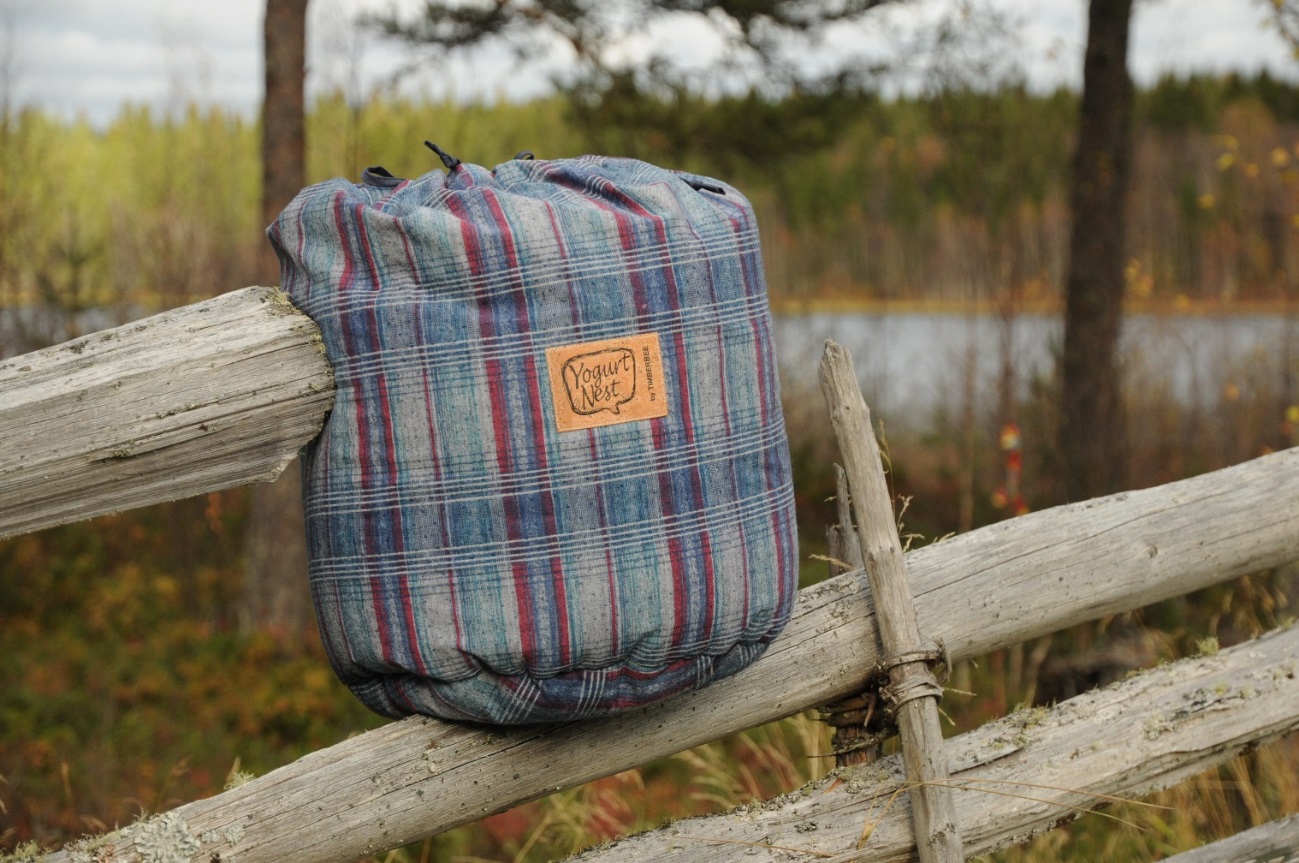
Tip #2 – You can use your YogurtNest anywhere
Your YogurtNest will feel totally at home in your humble abode, but it also likes to step outside (camping, travelling, etc.), regardless of the temperature and climate.
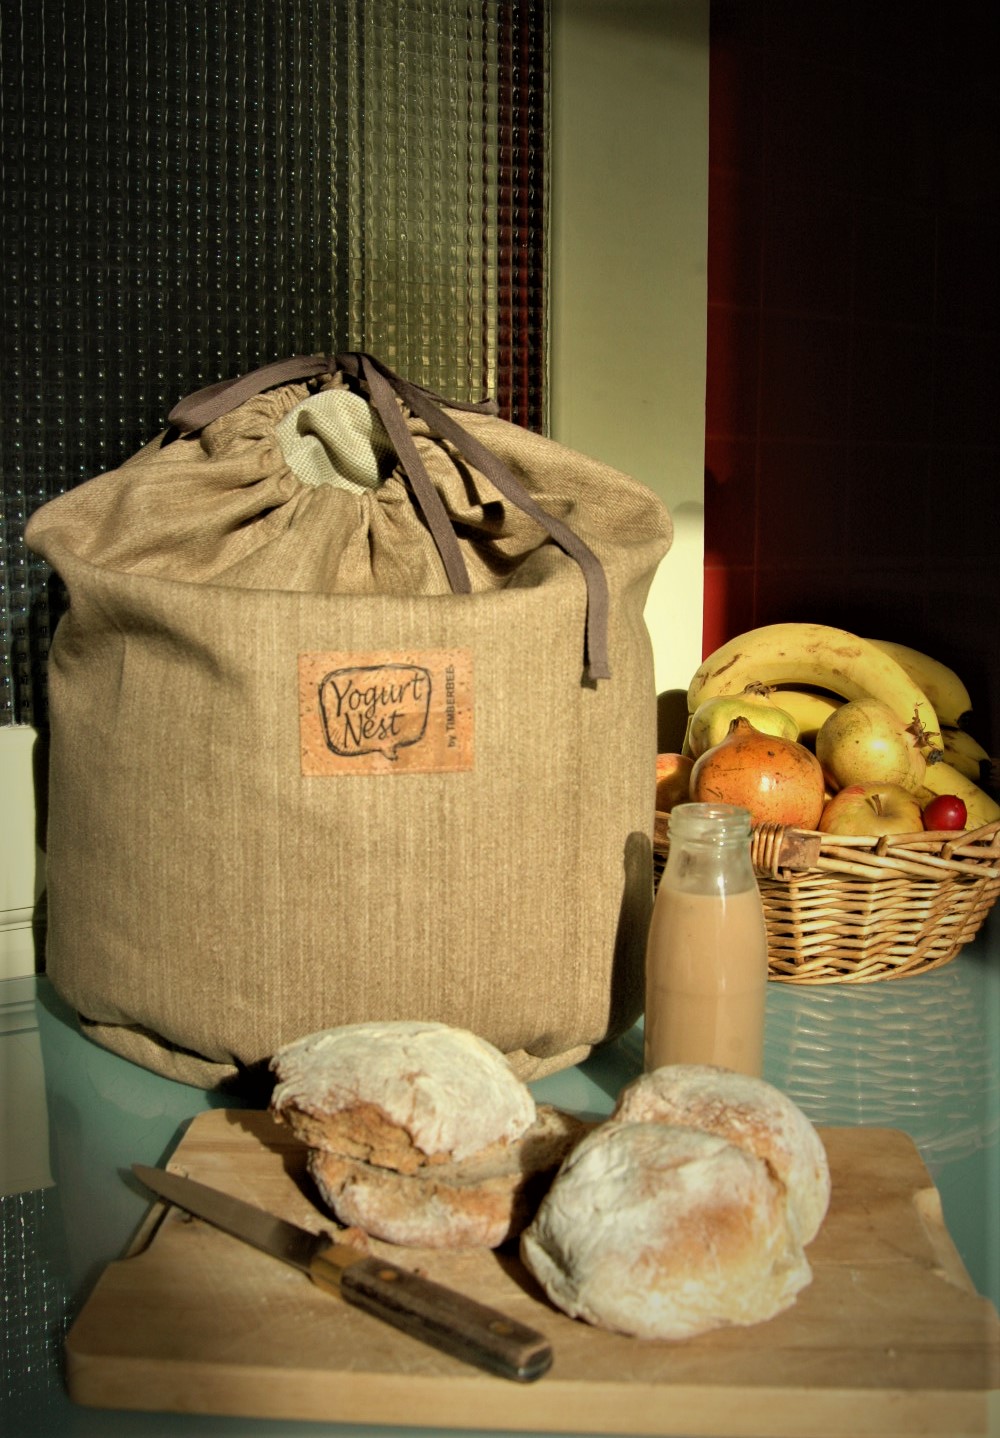
Tip #3 – Your YogurtNest will easily find a place to live in your home and for traveling
Your YogurtNest looks so smart that you can even keep it in the living room, resting on the sofa, as if it were a cushion. To take in a travel bag, you can remove the beret (round pad) and flatten the YogurtNest on a table, so that the two pieces fit better in the bag. It is flexible.
Tip #4 – You can reuse those glass jars you already have at home
Honey jars, jam, pickles, instant coffee. Pick the jars, shapes and sizes according to your convenience. Do not forget to check that the lid seals tightly! We do not recommend using plastic jars as we don’t have enough information about whether some of the chemical components in plastic containers will pass through into the hot milk or plant-based drink. You should wash them well, but you only need to sterilise the jars if you are making yogurt for a baby or if you start getting liquid yogurt as they may be contaminated with other bacteria. If your jars do not have a lid, you can close them with a waxed beewrap or reusable silicone lid.
Tip #5 – You can make the amount of yogurt that actually suits your needs
With the YogurtNest you may opt to make one large (or small) jar of yogurt, or several layers of jars, of different shapes and sizes. The natural cork insulation layer, specially formulated for YogurtNest jars, keeps the jars content at the proper temperature to make high-quality yogurt.
Tip #6 – Before use, you may shape the interior chamber of the YogurtNest so that it fits the jars or
Place both your hands inside the YogurtNest and turn it upside down, allowing the cork to accumulate near its mouth. Then, place it back in its natural position, shaping the inner chamber with your hands, so that it will more easily accommodate the jars to incubate, the pot, the bread dough or the containers with food and drinks. Massage the cork, externally, in order to transfer the cork grains from the areas where they are in excess to the areas where they are needed. Seal with the beret and tie the lacing.
Tip #7 – How to prevent staining your YogurtNest
When reusing jars, it may happen that one of the lids you’ll be using won’t seal properly and you may experience a leakage. To prevent the interior of your YogurtNest from getting stained, you may use some kind of waterproof bag or wrap. When using as a slow cooker, place a kitchen cloth around the pan as described in the instructions. If it gets dirty, refer to the washing instructions here.
Tip #8 – The best yogurt to use as a starter, to make the next batch, is the one you just made
If possible, use yogurt fresh out of the YogurtNest. If you have to pick one from the refrigerator, choose the most recent one or the one it was made less than 5 days ago, so that it has enough live and active bacteria.
Tip #9 – If you have to buy commercial yogurt to serve as a starter for your next batch…
Pick the one with the largest shelf-life. We recommend using plain yogurt (later you may add whatever you want). If you use Greek yogurt, you won’t get Greek yogurt. You can check how to make it here. If you use flavoured yogurt, the artificial flavouring will keep a slight aftertaste in the next yogurt batch, but to make a real flavoured yogurt, check how to do it here in the Tips. If you use commercial kefir, you will get a milk or plant-based drink fermented by the microorganisms present in kefir (which are more numerous than in yogurt) that were able to develop at the temperature at which you heated the milk/plant-based drink, which is not yogurt, but which you can also consume.
Tip #10 – You can make lots of yogurt with very little
Despite what people say, out there, you can use 1 teaspoon/tablespoon of yogurt with 1L of milk and thus get 1L of yogurt. And you can always use your yogurt, for years and years, as long as it is in good condition to be consumed, within the stated 5 days, with the bacteria alive and active.
Tip #11 – Do not forget to save or freeze some yogurt to serve as a starter for the next batch!
We advise you to keep a yogurt container in the fridge or some yogurt to serve as a back-up, just in case your next batch turns out to be a failure (it very rarely happens, but let’s play it safe). Alternatively or before vacations, freeze some yogurt in ice cube trays as well. To use it, just thaw a cube in the fridge, stir well, and use it as a yogurt scoop.
Tip #12 – If you have to purchase a commercial starter to make your future yogurt…
The commercial probiotic starter can be found in organic products shops, pharmacies and parapharmacies and does not necessarily have to be intended to make yogurt, but within the set of bacteria described in the composition will have to contain the two that make the fermentation of yogurt: Lactobacillus bulgaricus and Streptoccocus thermophilus (take a pic/screenshot so you can compare the bacteria at the time of purchase!). Because probiotics contain the bacteria dehydrated, the fermentation process may take 1-6 hour longer than it would if you used fresh yogurt. This is a more expensive option than using 1 scoop of dairy or vegan yogurt, but may be suitable for some food intolerance situations. Some probiotics, other than dehydrated bacteria, contain cow’s milk powder in the composition description, so in case of food intolerance to powdered milk constituents, these should not be an option.
Tip #13 – How to get thicker, creamier yogurt
As a rule, fresh yogurt becomes thicker after some time in the refrigerator. If you like thick, creamy Yogurt, you may try some of these tricks:
-
- Use whole milk;
- Incubate in the YogurtNest for over 6 hours;
- Add powdered milk or a thickening agent;
- Boil the milk, let it cool to 50° C and then inoculate with yogurt;
- If you are using skimmed milk, lactose-free milk or “milk of the day”, boil the milk beforehand to make it thicker;
- Add extra thickening agent to the plant-based drink you buy, or make a thicker homemade plant-based drink;
- Make Greek yogurt (learn how to do it here).
Tip #14 – How to make your own drinking yogurt
To obtain drinking yogurt, simply shake the jar vigorously, after removing it from the YogurtNest or refrigerator. For the best results, you may use a blender.
You can add ingredients for flavouring when you shake it or make yogurt already with these ingredients (see tip #16). To make a smoothie with fresh fruit or other ingredients, you can use a hand blender or food processor.
In the case of vegetable drinking yogurt, you may adjust the texture by adding a bit less thickening agent.
Tip #15 – The shelf life of your homemade yogurt
The shelf life will always depend on the hygienic conditions in which it is made, so it is convenient to have all the material and yours hands well washed. You should avoid cross contamination by other bacteria if you also make bread, kefir, kombucha, beer, kimchi, … at home because these other bacteria could interfere with the yogurt fermentation and you would obtain not exactly a yogurt, but other fermented milk with a slightly different taste and consistency (which you can also consume). You should consume in about 5 days a large jar that you open daily and the time frame can extend to about 15 days for sealed jars kept in the refrigerator. If you are in doubt, before consumption observe carefully and smell and do not consume if it has a sour smell or colonies of microorganisms (mold, for example), present in the yogurt or jar.
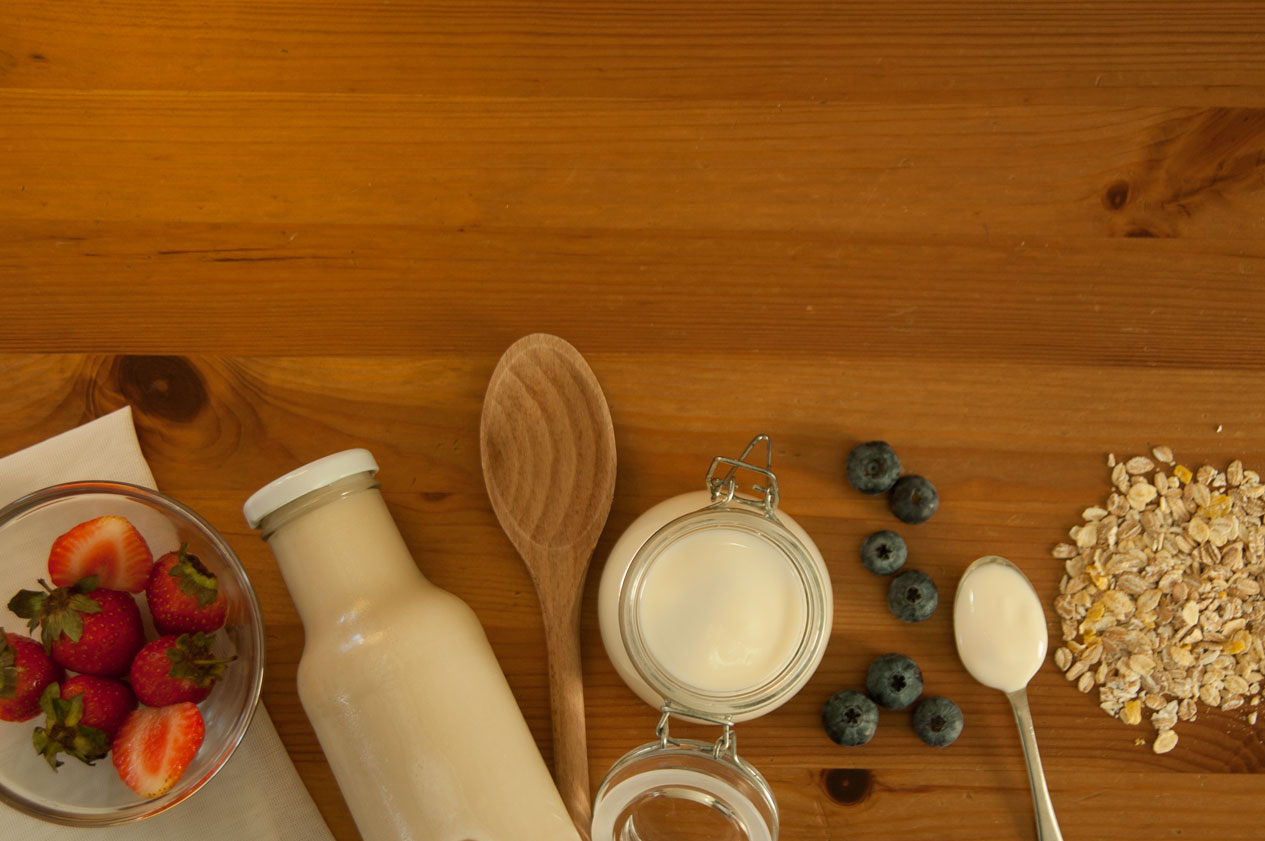
Tip #16 – How to make flavoured yogurt?
When you are heating milk or plant-based drink (Step 1 of making yogurt), you can add, by mixing very well: chocolate powder, cocoa powder, cinnamon powder, vanilla powder or liquid, honey, rice or corn or agave syrup, barley malt syrup, sugar, soluble coffee mix, grated coconut, fruit jam, cooked fruit puree, dried fruit powder, fruit concentrate, spices, dried or fresh tea leaves or tea sachet… Jam and cooked fruit puree should be added in small amounts (for example 1 tablespoon/200ml jar), either at room temperature or warm, and mixed well. You should not add fresh fruit pieces as they contain too much water and would disturb the fermentation process by creating water and air bubbles inside the yogurt or even provoke phase separation, creating a watery layer. The same is true for cereal grains/muesli/granola.
Tip #17 – How to measure temperature without a thermometer
If you use a food processor, program the temperature to 55C, as the milk/plant-based drink will cool down while pouring it into cold jars and also during winter. You can fill the jars, grab them with your hand, and you will either have to count to 10 feeling that it is warm but bearable or feel that the temperature is close to that of bath water. Higher temperatures kill bacteria and lower temperatures keep bacteria inactive, both of which result in poorly fermented liquid yogurt. You can consume this yogurt, as a drink, or add it to smoothies, cakes and cookies dough.
Tip #18 – My yogurt became liquid. Now what?
This was either due to 3 possible reasons: the temperature being too high or too low, the bacteria no longer being active if you used a spoonful of yogurt at the end of its shelf life or using contaminated material and/or hands by other bacteria. If you are making vegetable yogurt with homemade plant-based drink, your drink may be too liquid, try adding less water. If you are using commercial plant-based drink, don’t forget to add a thickener as we advise in the recipe, or if you have already added one, you need to increase the dose or dissolve it better with a wire rod or hand blender to avoid lumps and turn the drink thicker while heating it. Keep your hands, jars and utensils clean and avoid cross contamination if you also make other fermented foods as bread, kombucha, beer, kimchi… If this was the cause, sterilize all jars and utensils. You can drink the yogurt you have made, even if it´s more liquid, or add it to smoothies, cakes and cookies dough.
Tip #19 – Your YogurtNest has cork inside and smells like cork!
If you find cork grains inside your YogurtNest or if they fall out when you turn it upside down, don’t worry, they correspond to some grains that were retained inside when the YogurtNest was filled with cork and prove that it has natural cork inside. For that very reason, it has a characteristic smell of cork, montado and Nature, which can be more or less perceptible.
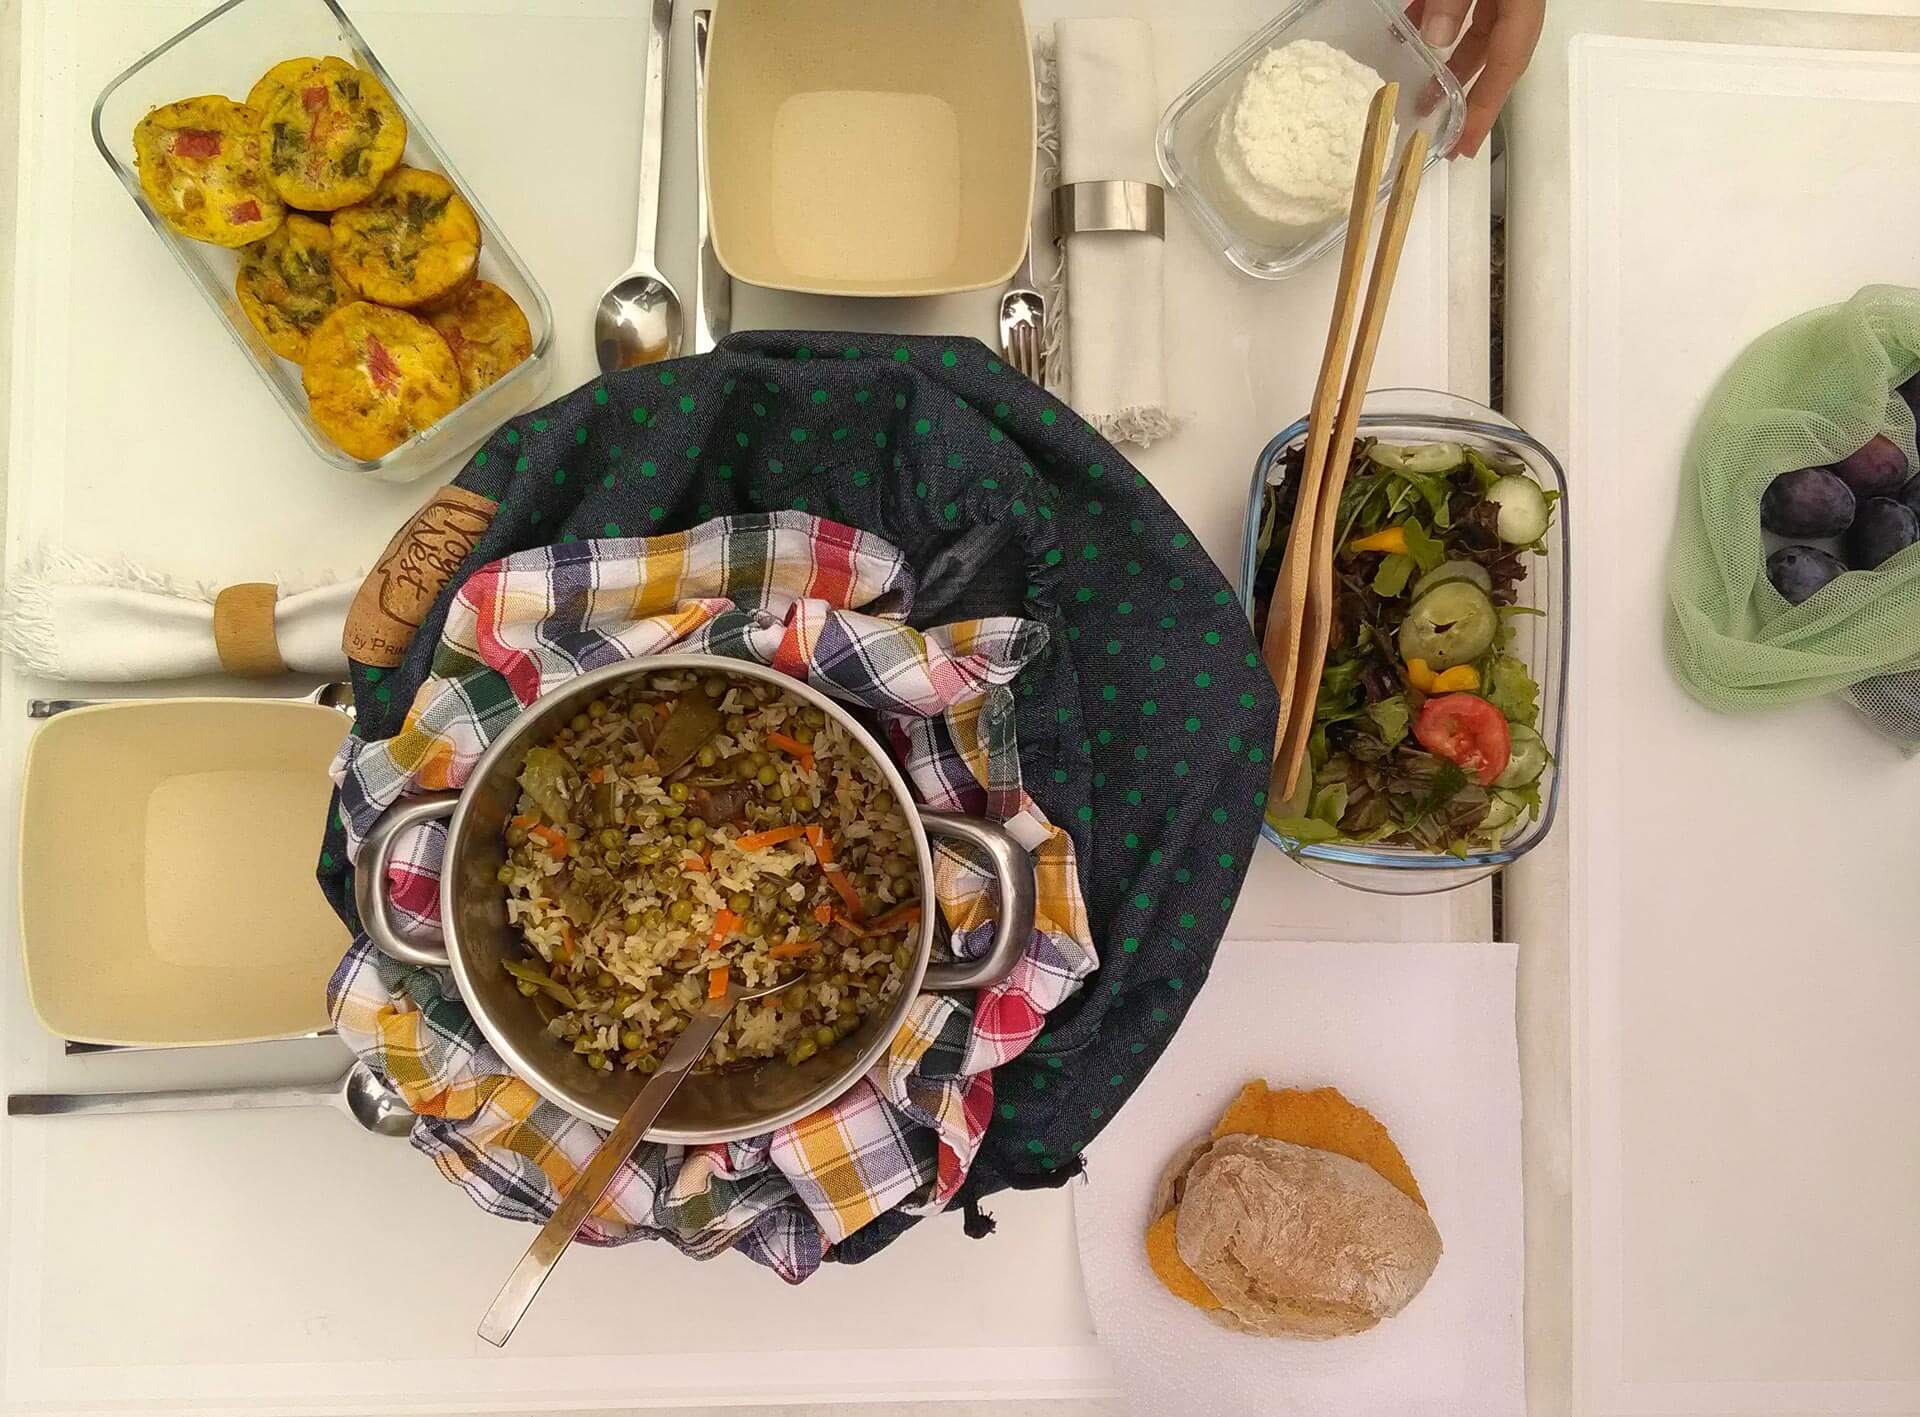
Tip #20 – How to use your YogurtNest as a slowcooker, to cook soup, rice, pasta and other dishes
Learn how to do it here.
Tip #21 – How to use your YogurtNest as a dough-proofing nest for pizza or bread
Learn how to do it here.
Tip #22 – How to use your YogurtNest as a cooler or thermal container
You may use your YogurtNest as a flexible cooler or thermal container, to keep your food and drinks warm or cold, according to your needs. Learn how to do it here.